FDM 3D printing technology, also known as fused deposition rapid prototyping (FusedDeposion Modeling, FDM) is another widely used rapid prototyping process following the light-curing rapid prototyping and stacked solid rapid prototyping process. The technology is currently more widely used a 3D printing technology, but also one of the earliest open source 3D printing technology.
FDM 3D printing is also popular due to its versatility. it accounted for 71% of the 3D printing market valued at $18.58 billion in 2024. Experts predict that the market will grow rapidly, reaching $59.96 billion by 2034.
How FDM 3D Printing Works
Designing the 3D Model
The first step is to create a digital 3D model. You can design using CAD software. Some of the more popular tools are Tinkercad, Fusion360, and Blender, each of which has features for different skill levels and needs.
| Software | Difficulty | Type | Cost |
|---|---|---|---|
| Tinkercad | Easy | Parametric | Free |
| Fusion360 | Moderate | Direct and Parametric | Free 30-Day, $70/month |
| Blender | Moderate | Direct and Parametric | Free and Open Source |
Layer height, wall thickness and overhang need to be considered in the design. It is better to keep the layer height below 75% of the nozzle size. Also add support for overhangs greater than 45 degrees to maintain print accuracy. And align the model layers with the load direction for good strength and aesthetics.
Slicing the Model into Layers
Next, slice the model into thin layers. Slicing translates the design into printer instructions. Software such as Cura or PrusaSlicer can be used for this step. The software will create a G-code file that will contain the following instructions:
- Nozzle path.
- Temperature settings for the nozzle and stage.
- Filament speed and flow rate.
You can adjust settings such as fill density and print speed. Adding a wall line allows for a stronger print than adding more infill. By adjusting these settings, you can strike a balance between speed and quality.
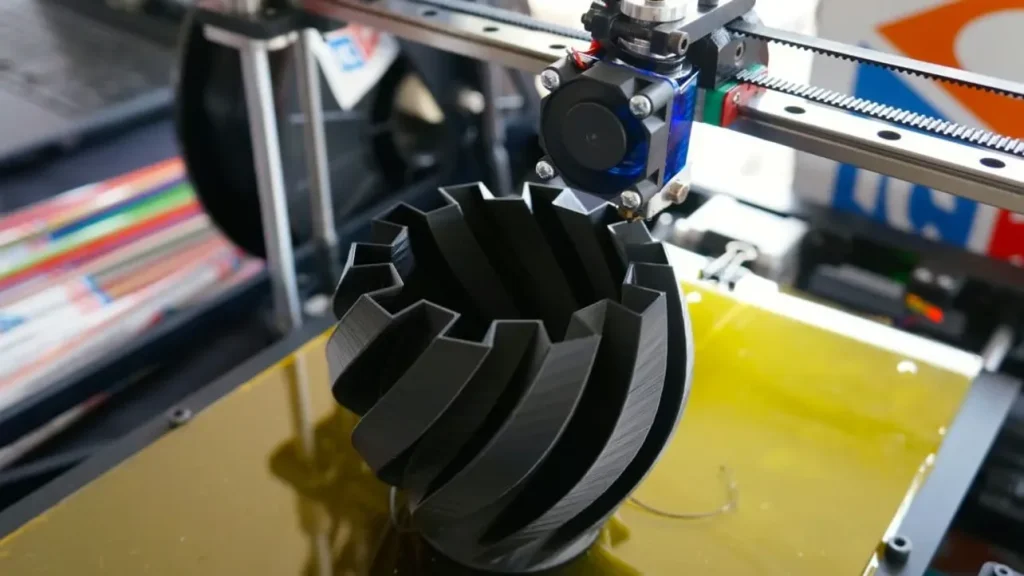
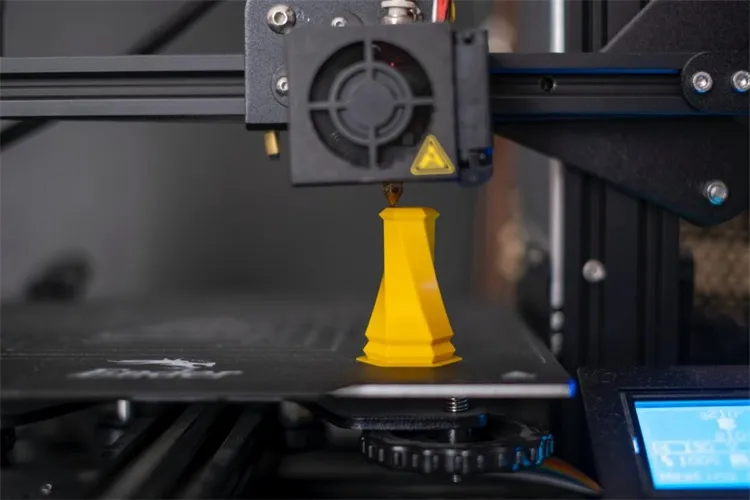
Printing objects layer by layer
Upload the G code file to the printer and start printing. The nozzle heats up and melts the filament. The printer lays down the melted filament layer by layer. Each layer cools and hardens before the next layer is added.
- The printer builds the object layer by layer.
- The platform moves down slightly after each layer is completed.
- Temporary supports can be added for overhang if desired.
When finished, the supports are removed to reveal the object.FDM printing is great for creating detailed designs. It is suitable for many different projects.
Cooling and Solidifying the Material
The printer cools quickly after a layer of filament is placed on it. This cooling step is important to keep the object stable. The material changes from hot and soft to solid immediately after placement. This locks the layer in place.
Most FDM printers use a fan or air system to cool the material. These systems control the rate at which the material cools, which is critical for different materials. For example
- Intense cooling keeps the new layer in the correct shape.
- Air cooling allows the material to harden faster and prevents sagging.
- Softer materials require additional cooling to avoid bending or breaking.
You can change the cooling settings in the slicing software. Slower cooling results in better adhesion of the layers. Faster cooling can also result in a smoother surface. Testing these settings can help you find the balance that works best for your material and design.
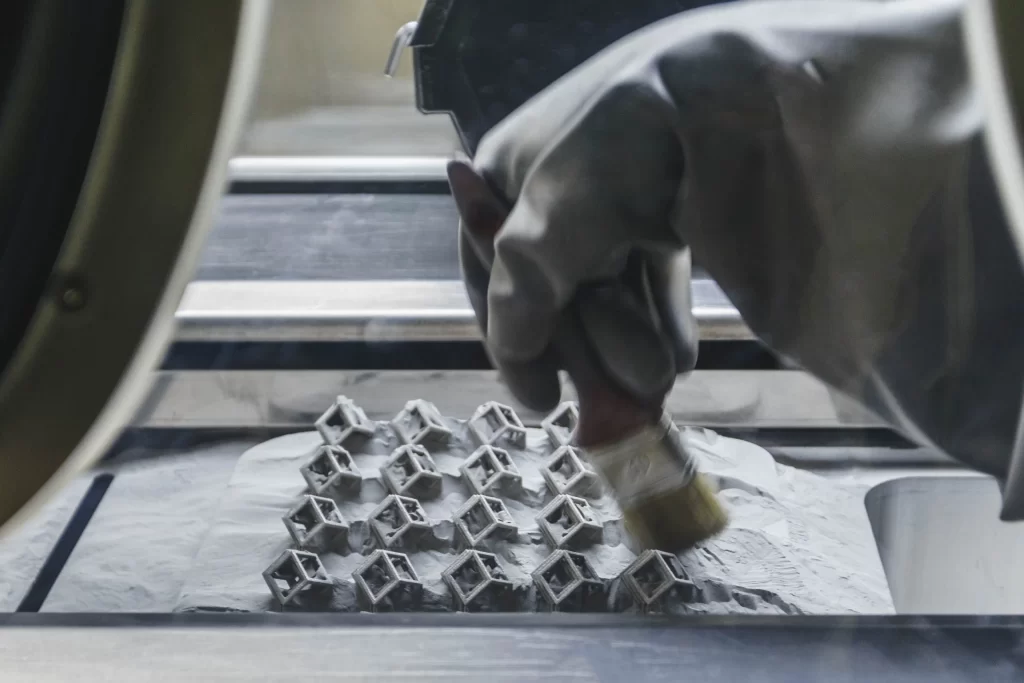
Post-Processing the Printed Object
After printing, your product may need some finishing work. Post-processing can make it look better and work better. The exact steps will also depend on the material and the purpose of the object.
First, remove any supports or rafts. These are useful during printing, but not needed afterward. Use a tool such as pliers or a squeegee to carefully remove them. Move gently so as not to damage the object.
Next, use sandpaper to smooth the surface. Start with rough sandpaper and then sand with finer sandpaper to smooth the surface. You can also add primer or paint to get a glossy look.
If you are using ABS material, try the acetone vapor smoothing method. This will slightly melt the outer layer and make it shiny. Be careful and follow safety rules when using chemicals.
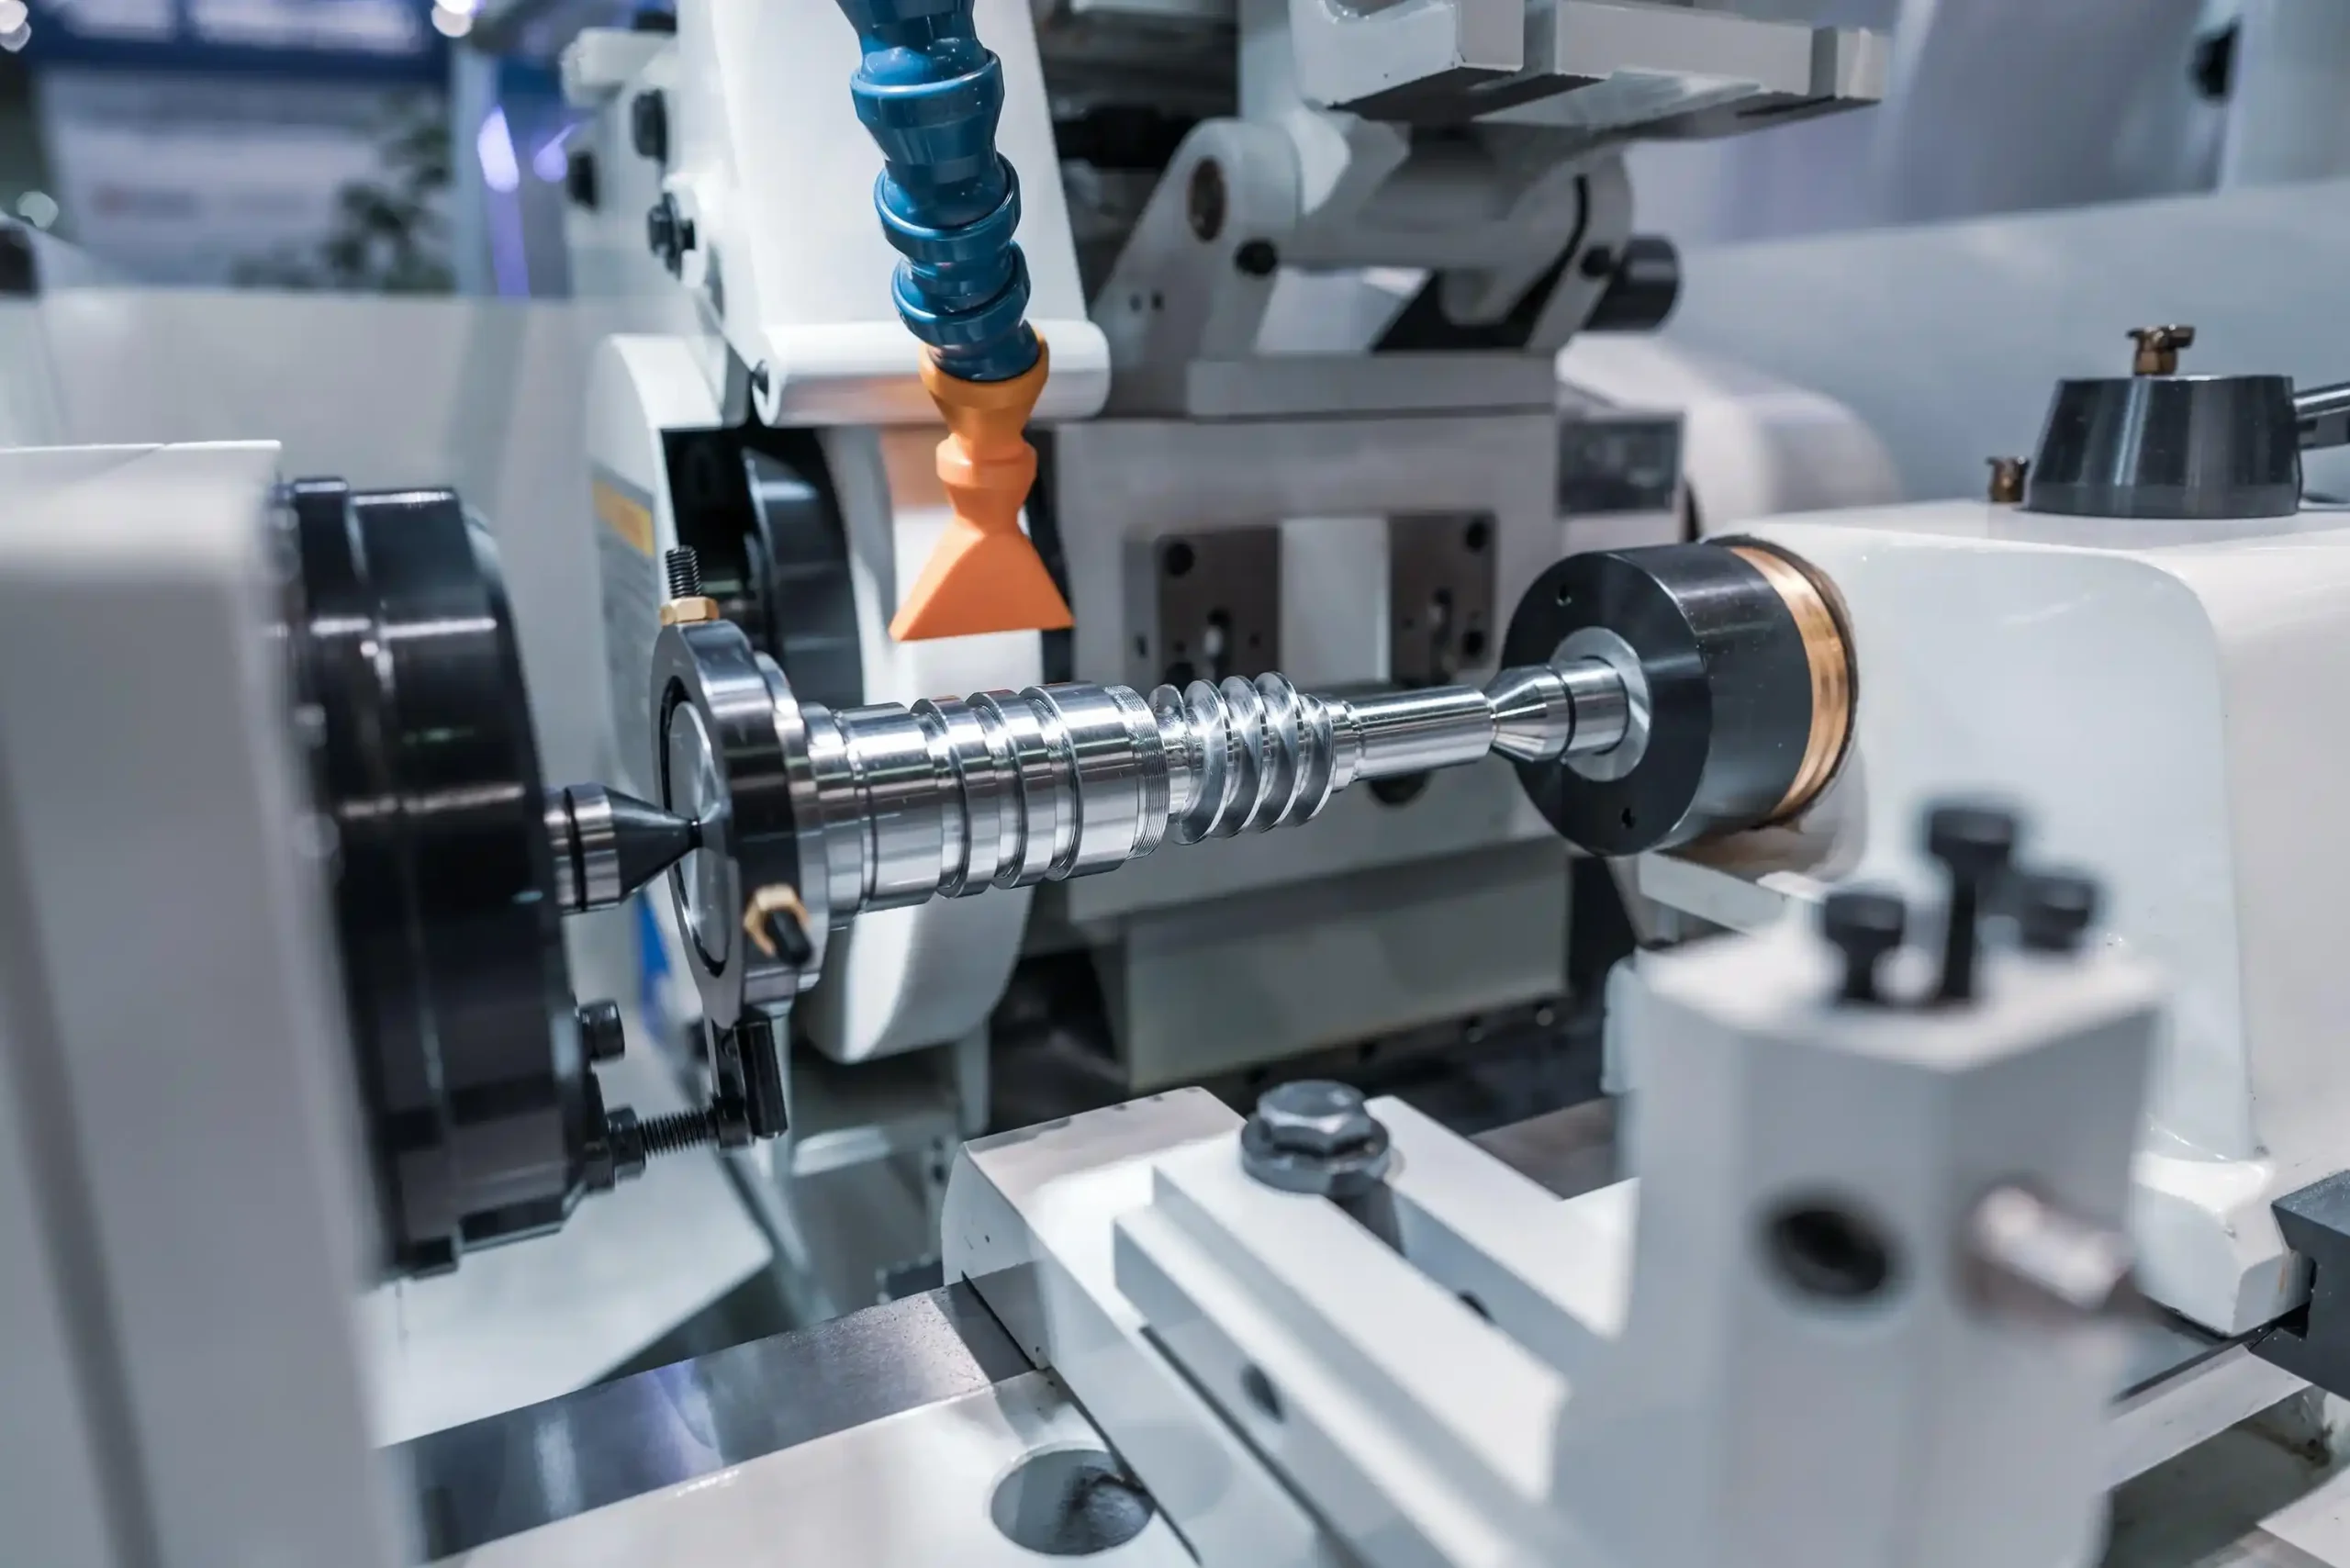
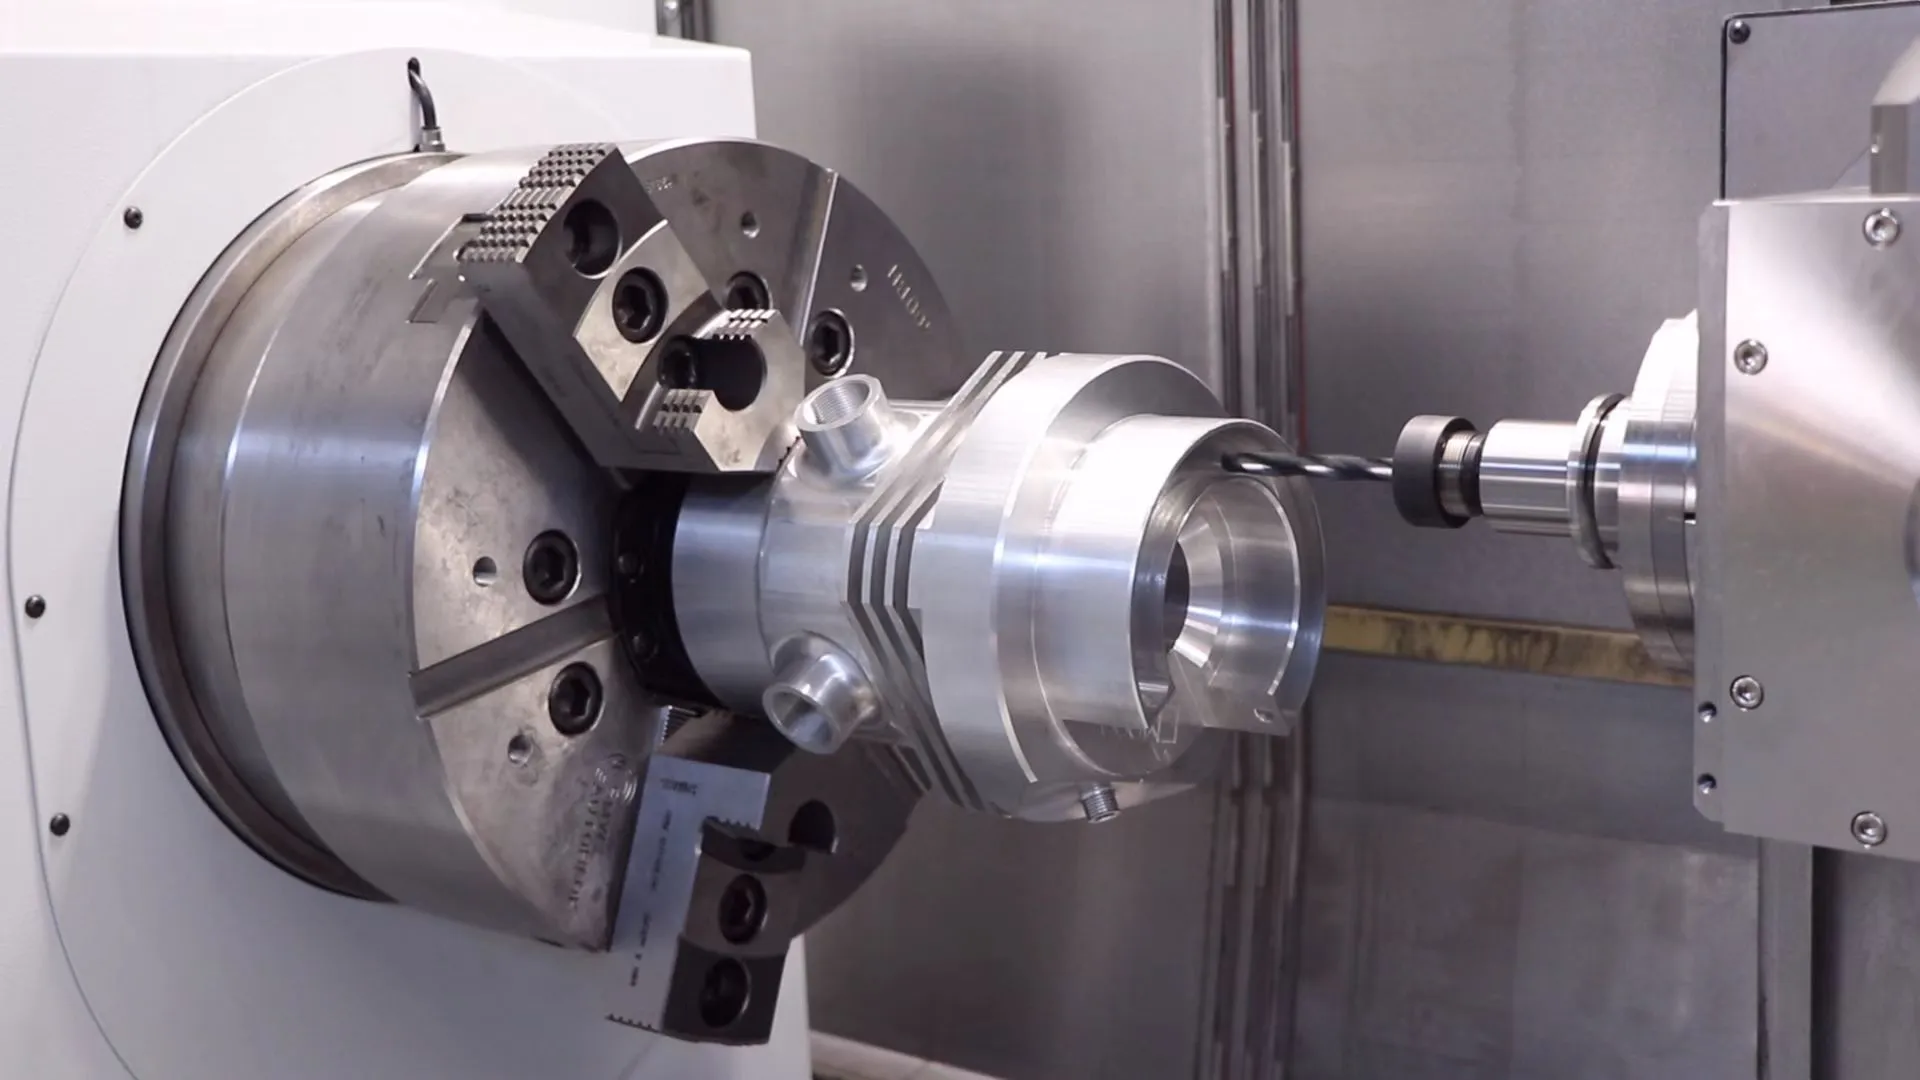
For parts that need to be machined, you can drill holes or add threads. You can also combine different parts together. These steps ensure that your item is ready to use. Post-processing turns your prints into useful finished products.
Key Parts of FDM 3D Printing
Understanding the major components of an FDM 3D printer helps you better understand how it works. Each component is important for making accurate and high-quality prints. Let’s take a look at these key components.
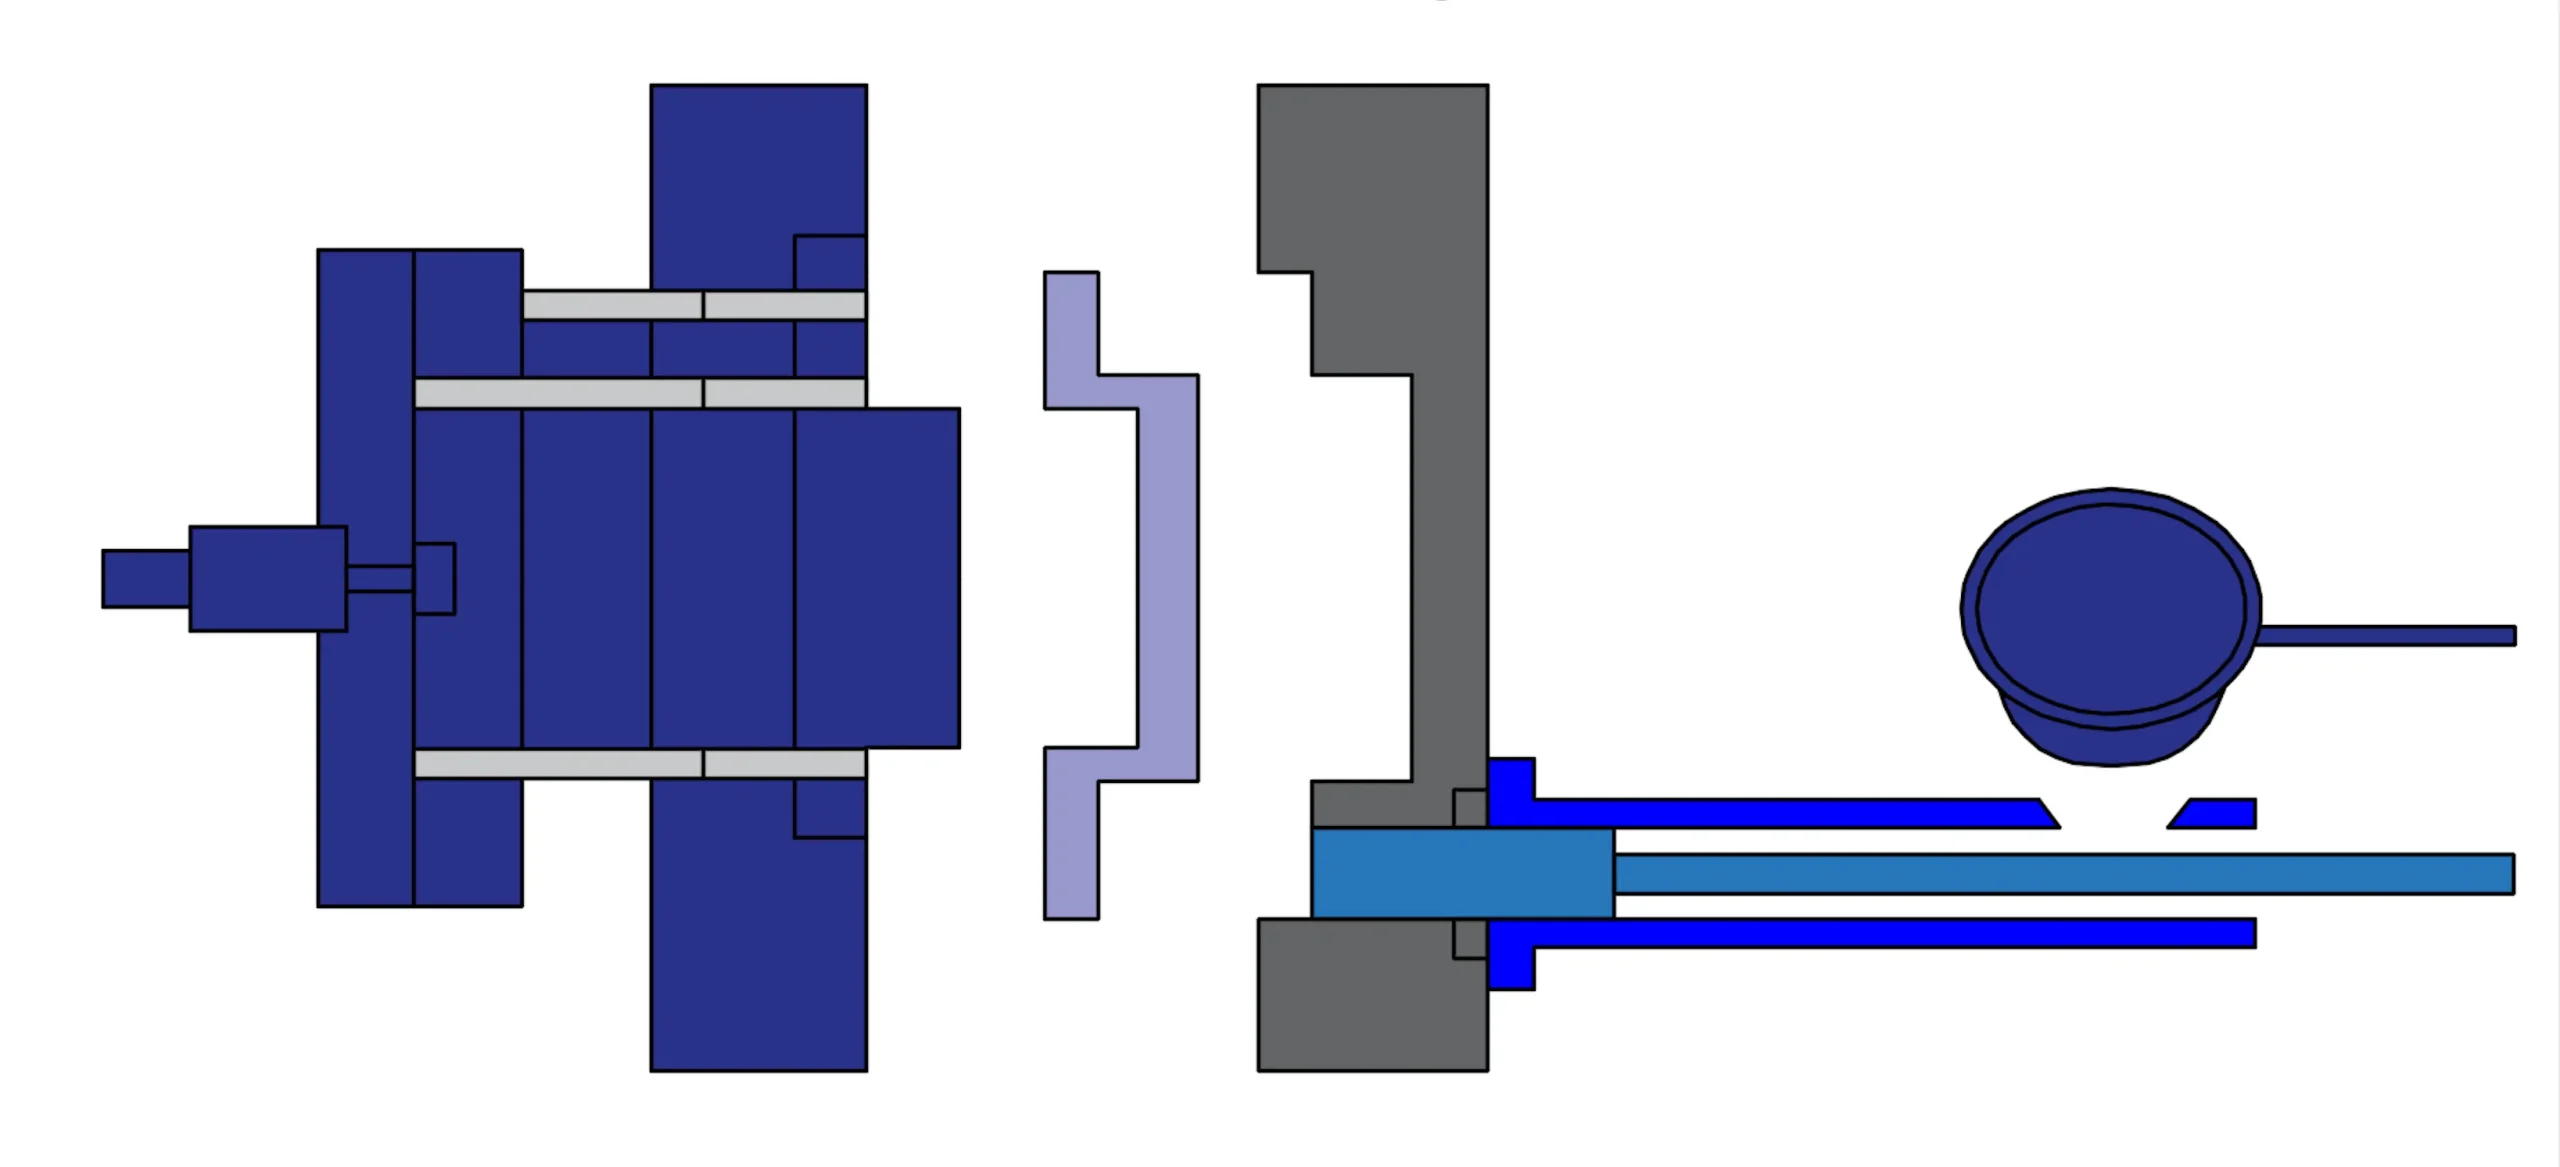
Extruder and Nozzle
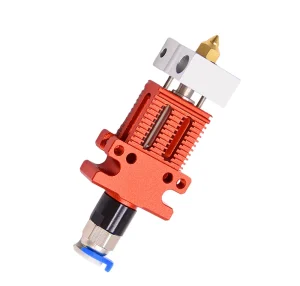
The extruder and the nozzle are the most important components. The extruder draws the filament from the spool and pushes it into the nozzle. The nozzle heats the filament until it melts and flows onto the build plate.
Think of the nozzle as a pen that draws each layer. Nozzles come in different sizes. Smaller nozzles produce detailed patterns, while larger nozzles print faster. Cleaning the nozzle frequently keeps it in good working order.
Build Plate
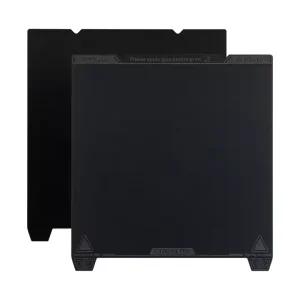
The build plate is where the object is made. It provides a flat surface for the filament to adhere to. A heated build plate helps the material bond better and prevents warping.
Be sure to level the template before printing. If it is not leveled, the layers may shift or not stick. Some printers have an automatic leveling feature to make this step easier.
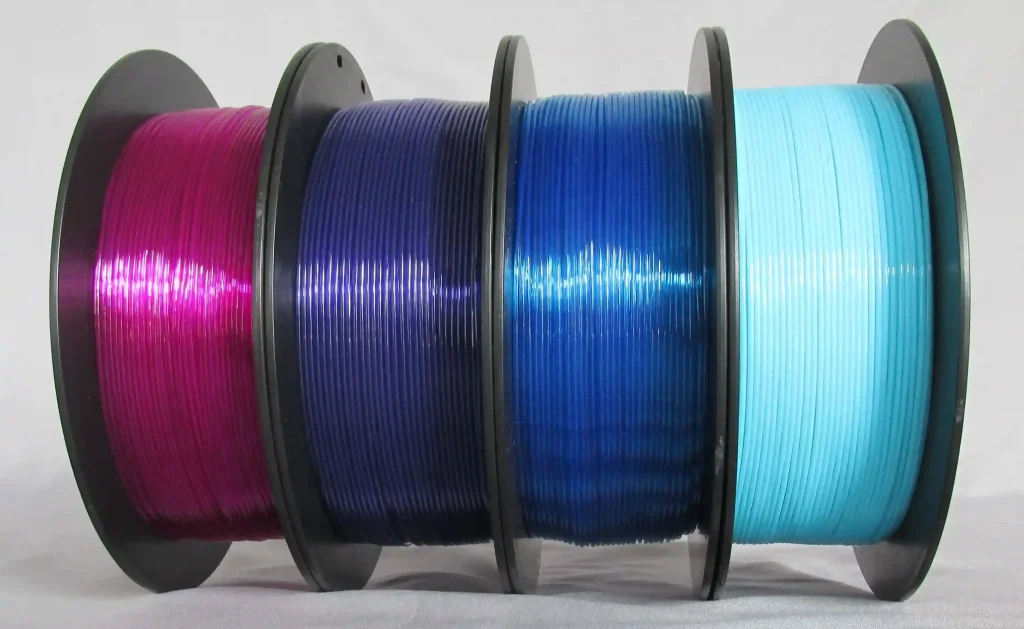
Filament Spool
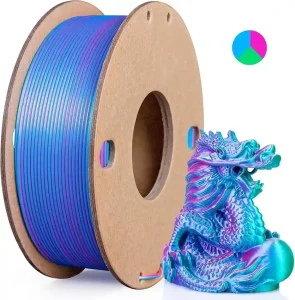
The filament spool is loaded with material for printing. It feeds the filament into the extruder so that the printer will have a steady supply.PLA, ABS and PETG filaments are suitable for different projects.
Keep the filament dry and avoid moisture. Moist filament can lead to poor prints or bubbles. A filament dryer can help keep the filament in good condition.
Motion System and Frame
Motion systems and frames are critical components of FDM printers. They allow the printer to remain stable and precise, thereby improving the quality of the printed product.
Motion System
The motion system is primarily used to move the nozzles and build plate. It guides these parts through motors, belts, and rails to move the printer in three directions:
- X-axis: The nozzle moves left and right.
- Y-axis: Moves the build plate back and forth.
- Z-axis: Moves the nozzle or stencil up and down.
Stepper motors control these movements very precisely. Belts and pulleys connect the motor to the nozzle and stencil. This setup allows for smoother and more precise movements.
Frame
The frame is primarily used to hold the printer components in place and absorb vibration. It holds all the components in place during the printing process. There are two types of frames:
- Open Frame: Easy to use, but not very strong.
- Closed Frame: Stronger and more suitable for materials such as ABS.
A sturdy frame reduces wobbling so the print is more accurate. Most frames are made of aluminum or steel. If your printer has an open frame, it needs to be placed on a stable surface to minimize vibration.
Understanding how the motion system and frame work can improve print results. Regular maintenance will keep these components running smoothly during production.
Materials Used in FDM 3D Printing
The materials you choose for FDM 3D printing are very important. They can have a direct impact on the strength, utility and appearance of the printed item. From basic plastics to specialty filaments, each material has unique features for different uses.
Common Thermoplastics (e.g. PLA, ABS, PETG)
Thermoplastics are the most common materials used for FDM printing. They are relatively simple to use and are suitable for many projects. Here is a quick comparison of some common thermoplastics:
| Thermoplastic | Features | Uses |
|---|---|---|
| PLA | Easy to use, not very strong | General printing |
| PETG | Strong, resists impact and chemicals | Durable parts |
| ASA | Resists weather and UV light | Outdoor items, car parts |
| Fiber Infused | Stiff and easy to print | High-performance items |
| ABS | Tough and impact-resistant | Prototypes, functional parts |
| PEEK | Very strong, resists chemicals | Medical, aerospace, car parts |
PLA is great for beginners because it’s simple and environmentally friendly.PETG is strong and flexible for hard parts.ABS is tough and good for prototyping. For very sturdy items, PEEK and fiber-injected plastics are good choices.
Tip: When printing with ABS or ASA, use a heated plate to avoid warping.
Specialty Filaments (e.g. TPU, Nylon, Carbon Fiber)
Specialty filaments have unique flexibility, strength or heat resistance. They are well suited for projects that ordinary plastics cannot handle. Below are some commonly used specialty filaments:
| Filament Type | Strength | Flexibility | Print Temp | Bed Temp |
|---|---|---|---|---|
| Carbon Fiber | Very strong | Low flexibility | 220–240°C | 100–110°C |
| Nylon (PA 6) | Strong | Medium flexibility | 225–265°C | 70–90°C |
| FLEX (TPU) | Flexible | High flexibility | 210–230°C | 60°C |
Carbon fiber is great for cars and airplanes because it is light and strong. Nylon is tough and better suited for mechanical parts. Thermoplastic polyurethane (TPU) is soft and easy to bend, so it’s great for cell phone cases or protective items.
Material Properties and Their Applications
Understanding material properties can help in selecting the right material for your project. Below is a summary of some of the main properties and uses:
| Filament Type | Key Features | Uses |
|---|---|---|
| PLA | Easy to print, rigid, eco-friendly | General projects, prototypes |
| ABS | Heat-resistant, tough, durable | Functional parts, prototypes |
| PET | Resists water and chemicals, recyclable | Food-safe items, general use |
| Nylon | Strong, impact-resistant, chemical-safe | Mechanical parts, functional items |
| TPU | Flexible, tough, resists wear | Soft parts, protective gear |
| PC | Very strong, easy to finish | Engineering, high-strength items |
For simple projects, PLA is a good eco-friendly choice, ABS and PETG are better suited for parts that are strong and durable, and TPU is best suited for flexible parts. For very sturdy engineering needs, PC or carbon fiber is a good choice.
By understanding these materials, you can take full advantage of FDM 3D printing technology. Whether you need to create artwork, prototypes, or working parts, choosing the right material can make all the difference.
Advantages of FDM 3D Printing
Cost Effectiveness
FDM 3D printing is a cost-effective manufacturing method. It eliminates the need for expensive tools used in conventional manufacturing. So, it is perfect for small projects or testing ideas. It also uses the right amount of filament, so there is little waste. This clever use of materials greatly reduces costs.
Studies have shown that FDM printing can save up to 70% of production costs. Its low price has made it popular in industries such as automotive, healthcare and consumer goods. The table below shows how it saves money:
| Feature | Benefit |
|---|---|
| No expensive tools needed | Lowers starting costs |
| Less material waste | Cuts down production expenses |
| Cheap materials available | Fits many industries’ budgets |
Using FDM 3D printing means you can save money and still get great results.
Ease of Use and Accessibility
FDM 3D printing is easy to use and even beginners can get started quickly. Many printers are simple to set up and use right out of the box. This makes it easy for anyone to start printing.
There are also many online guides and videos to help you learn. A large community of 3D printing enthusiasts can provide you with tips and solve problems. That’s why it’s so easy to use:
- Most printers can be set up quickly.
- There are tons of online tutorials.
- A helpful community offers advice and support.
These features make FDM 3D printing the best choice for everyone, no matter what your skill level.
Scalability for prototyping and production
FDM 3D printing is a great tool for testing and manufacturing products. It allows you to quickly create working prototypes to try out ideas. Unlike older methods, FDM can produce fine shapes at no extra cost. This makes it much easier to improve designs.
| Feature | Benefit |
|---|---|
| Fast Prototyping | Create test models in hours or days for quick feedback. |
| Affordable Changes | Update designs without extra setup costs, allowing quick adjustments. |
| Material Choices | Use many materials to find the best fit for your project. |
| Detailed Designs | Make complex shapes that are hard with traditional methods. |
| Production Options | FDM, SLS, and MJF are good for scaling from testing to production. |
FDM also makes it possible to manufacture large parts at a much lower cost. Although it is slower than methods such as MJF or SLS, it is still cost-effective for many applications. For example
- Selective Laser Sintering (SLS 3d printing): Ideal for making robust, complex parts.
- Multi-Jet Fusion (MJF 3d printing): Best for manufacturing high-quality, diverse products.
- Fused Deposition Molding (FDM 3d printing): suitable for manufacturing inexpensive, large parts.
Conclusion
FDM 3D printing is a simple method of building objects. It works by adding melted plastic layer by layer. This method is affordable and easy to follow for both beginners and experts. Whether you are testing ideas or manufacturing physical parts, choosing FDM 3D printing services is a great option.
FAQ
What is the best material for beginners in FDM 3D printing?
PLA is the best choice for beginners. It is easy to print, environmentally friendly, and suitable for most projects. You don’t need a heated bed and it produces very little warpage.
What is the ideal layer height for FDM printing?
The ideal layer height depends on the nozzle size. A good rule is to set the layer height at 50-75% of the nozzle diameter. For example, a 0.4 mm nozzle uses 0.2 mm.
How do I clean a clogged nozzle?
Heat the nozzle to the melting point of the filament, then use a cleaning needle or filament cleaner to remove the clog.